Physical Address
Physical Address

Download the Jaspersoft software from the official website.
Jaspersoft Download : https://community.jaspersoft.com/download-jaspersoft/download-jaspersoft


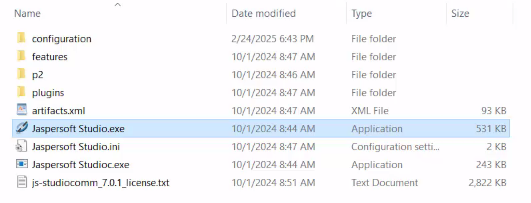
Launch Jaspersoft Studio by running the Jaspersoft Studio.exe file.
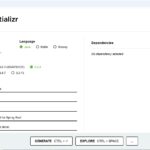
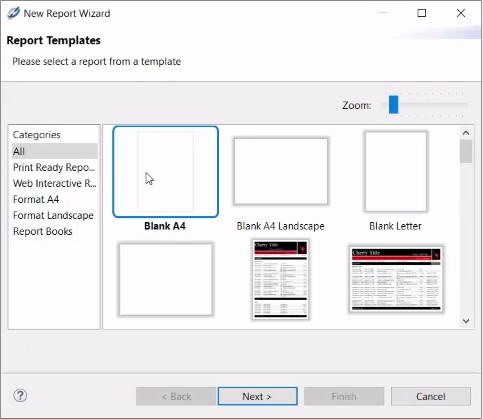
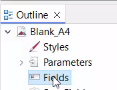
Create a new report: Go to File > New > Blank A4 to start with a blank report template.

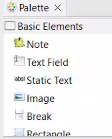
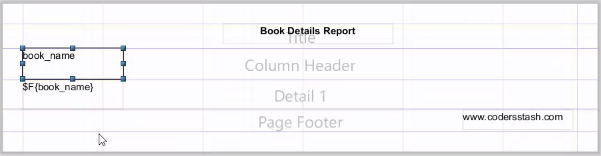
Add static text: Drag and drop the “Static Text” component from the palette into the Title area of the report.
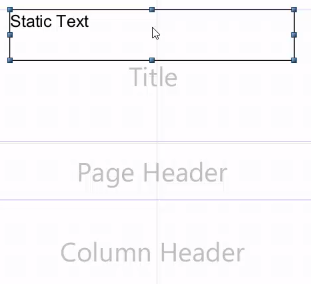
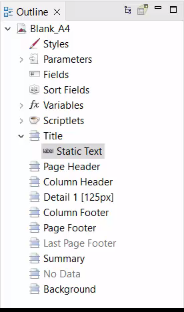
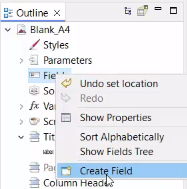
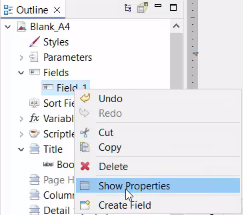
Create a new field: Right-click on the static text field and select Create Field in the Outline section.
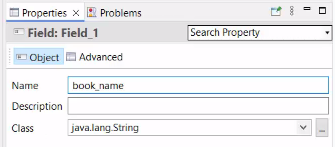
Set field properties: Right-click the newly created field and choose Show Properties.
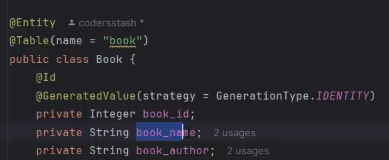
Name your field to reflect the data it will display.
Add the field to details: Drag and drop the created field into the Detail section of the report.
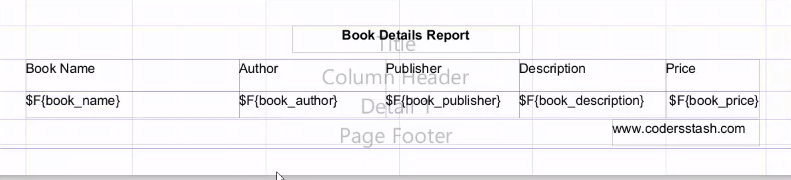
Repeat for all fields: Create and rename all headers and fields as needed to complete your report layout
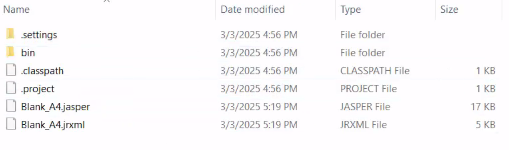
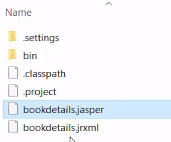
Compile the report to generate the .jasper file.

Once compiled, the generated Jasper file will appear as shown in your workspace.
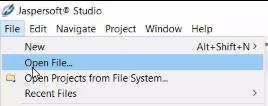
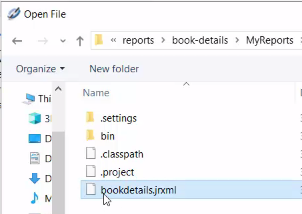
To open an existing report, go to File > Open File and select the .jrxml file.
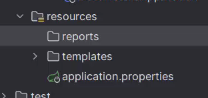
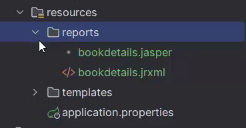
In your Spring Boot project, create a folder named reports and copy both the .jasper and .jrxml files into it.
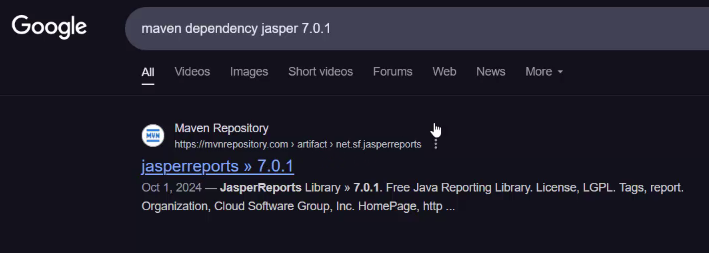
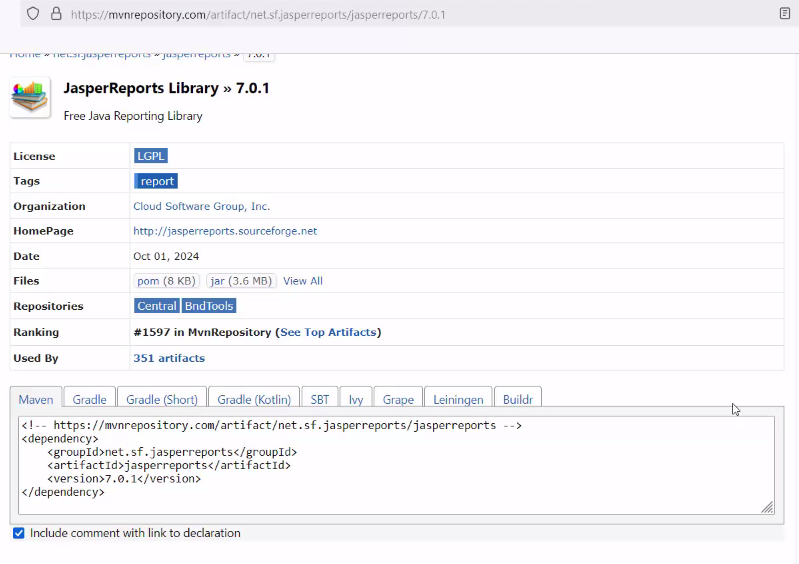
Find the Maven dependency compatible with your downloaded JasperReports version.
Update your pom.xml file by adding the JasperReports dependency.
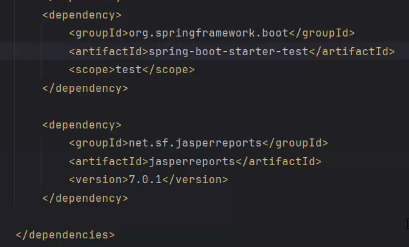
Also, add the dependency for jasperreport-pdf to enable PDF generation.

<dependency>
<groupId>net.sf.jasperreports</groupId>
<artifactId>jasperreports</artifactId>
<version>7.0.1</version>
</dependency>
<dependency>
<groupId>net.sf.jasperreports</groupId>
<artifactId>jasperreports-pdf</artifactId>
<version>7.0.1</version>
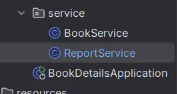
</dependency>Create a ReportService class to handle report generation logic.
Write the generateReport() function within ReportService to produce the reports.
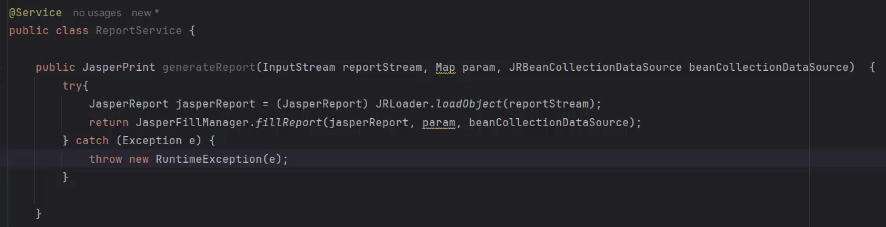
package com.codersstash.book_details.service;

import net.sf.jasperreports.engine.*;
import net.sf.jasperreports.engine.data.JRBeanCollectionDataSource;
import net.sf.jasperreports.engine.util.JRLoader;
import org.springframework.stereotype.Service;

import java.io.InputStream;
import java.util.Map;

@Service
public class ReportService {

    public JasperPrint generateReport(InputStream reportStream, Map param, JRBeanCollectionDataSource beanCollectionDataSource)  {
        try{
            JasperReport jasperReport = (JasperReport) JRLoader.loadObject(reportStream);
            return JasperFillManager.fillReport(jasperReport, param, beanCollectionDataSource);
        } catch (Exception e) {
            throw new RuntimeException(e);
        }

    }
}
In the ReportController class, implement the printAllBookDetails() function to trigger the report.
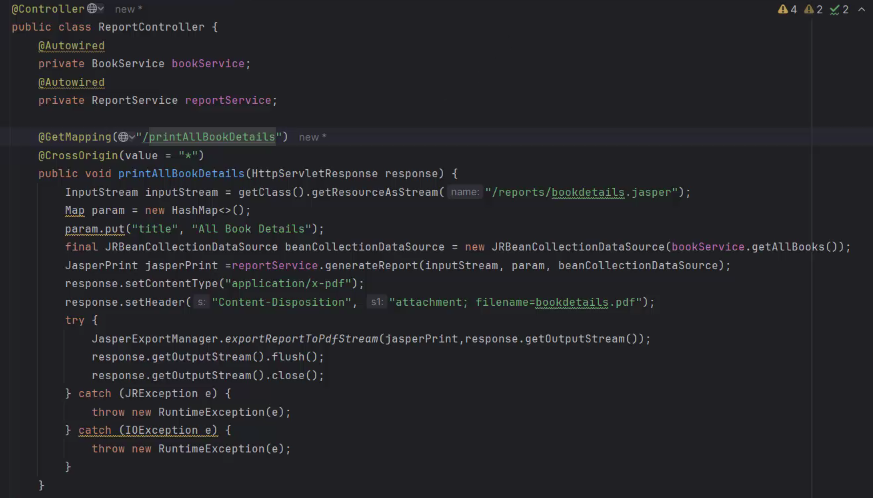
@Controller
public class ReportController {
@Autowired
private BookService bookService;
@Autowired
private ReportService reportService;
@GetMapping("/printAllBookDetails")
@CrossOrigin(value = "*")
public void printAllBookDetails(HttpServletResponse response) {
InputStream inputStream = getClass().getResourceAsStream("/reports/bookdetails.jasper");
Map param = new HashMap<>();
param.put("title", "All Book Details");
final JRBeanCollectionDataSource beanCollectionDataSource = new JRBeanCollectionDataSource(bookService.getAllBooks());
JasperPrint jasperPrint =reportService.generateReport(inputStream, param, beanCollectionDataSource);
response.setContentType("application/x-pdf");
response.setHeader("Content-Disposition", "attachment; filename=bookdetails.pdf");
try {
JasperExportManager.exportReportToPdfStream(jasperPrint,response.getOutputStream());
response.getOutputStream().flush();
response.getOutputStream().close();
} catch (JRException e) {
throw new RuntimeException(e);
} catch (IOException e) {
throw new RuntimeException(e);
}
}
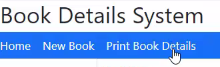
}Update your index.html page, adding a button or link to print all book details.
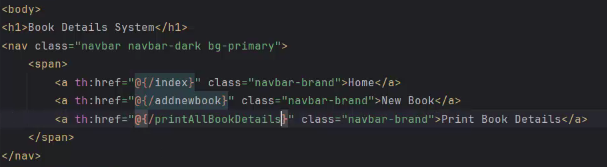
<body>
<h1>Book Details System</h1>
<nav class="navbar navbar-dark bg-primary">
    <span>
        <a th:href="@{/index}" class="navbar-brand">Home</a>
        <a th:href="@{/addnewbook}" class="navbar-brand">New Book</a>
        <a th:href="@{/printAllBookDetails}" class="navbar-brand">Print Book Details</a>
    </span>
</nav>
Run your Spring Boot project and download the generated PDF report.
For printing individual records, create a printBookDetails() function.
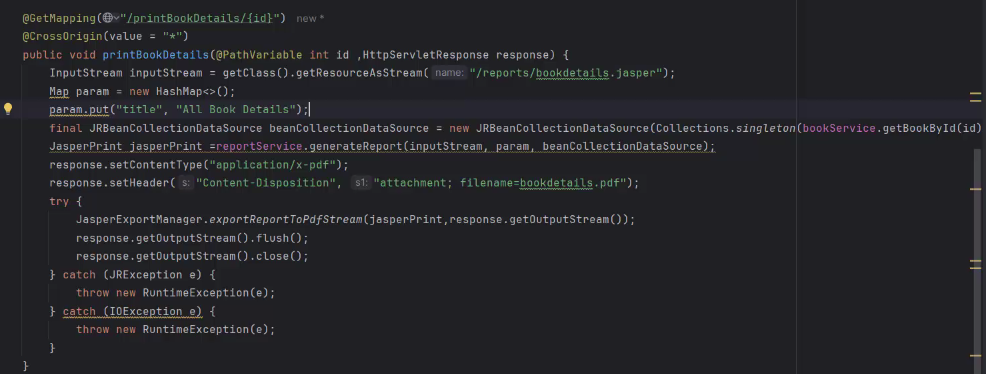
@GetMapping("/printBookDetails/{id}")
@CrossOrigin(value = "*")
public void printBookDetails(@PathVariable int id ,HttpServletResponse response) {
InputStream inputStream = getClass().getResourceAsStream("/reports/bookdetails.jasper");
Map param = new HashMap<>();
param.put("title", "All Book Details");
final JRBeanCollectionDataSource beanCollectionDataSource = new JRBeanCollectionDataSource(Collections.singleton(bookService.getBookById(id)));
JasperPrint jasperPrint =reportService.generateReport(inputStream, param, beanCollectionDataSource);
response.setContentType("application/x-pdf");
response.setHeader("Content-Disposition", "attachment; filename=bookdetails.pdf");
try {
JasperExportManager.exportReportToPdfStream(jasperPrint,response.getOutputStream());
response.getOutputStream().flush();
response.getOutputStream().close();
} catch (JRException e) {
throw new RuntimeException(e);
} catch (IOException e) {
throw new RuntimeException(e);
}
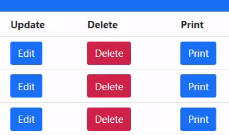
}Modify the table action buttons to call this function and print the corresponding row’s record.
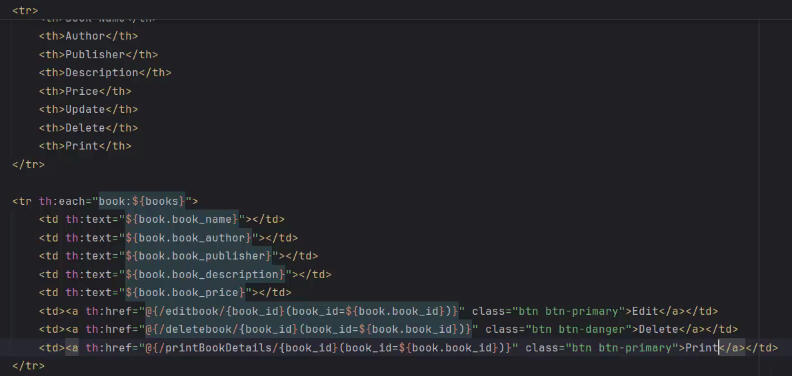
<tr th:each="book:${books}">
<td th:text="${book.book_name}"></td>
<td th:text="${book.book_author}"></td>
<td th:text="${book.book_publisher}"></td>
<td th:text="${book.book_description}"></td>
<td th:text="${book.book_price}"></td>
<td><a th:href="@{/editbook/{book_id}(book_id=${book.book_id})}" class="btn btn-primary">Edit</a></td>
<td><a th:href="@{/deletebook/{book_id}(book_id=${book.book_id})}" class="btn btn-danger">Delete</a></td>
<td><a th:href="@{/printBookDetails/{book_id}(book_id=${book.book_id})}" class="btn btn-info">Print</a></td>
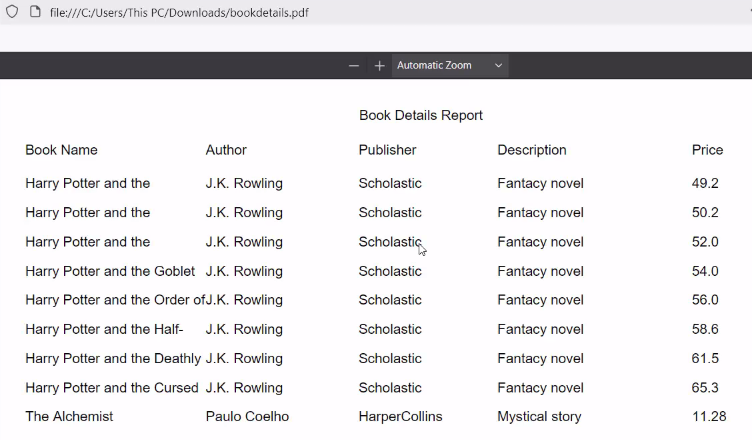
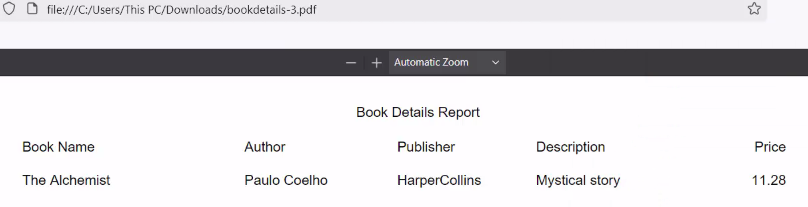
</tr>When printed, your PDF report will display as shown below.
Explore the complete code and implementation in the GitHub repository branch : book-details-report